VPN Access for School of Engineering Students
A number of resources available to students in the School of Engineering require that the student is connected to the campus network. For the times that students need these resources when off campus, students actively enrolled in School of Engineering programs have access to the Cisco AnyConnect VPN Portal. Please follow the directions below to setup and connect to this service.
ENGR AnyConnect install
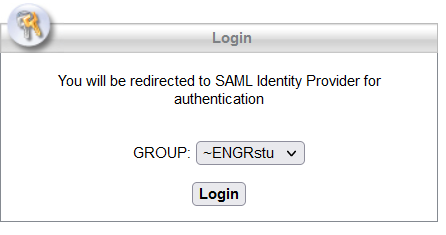
Browse to https://vpn1.ship.edu/ where you will be provided a login dialog box. Select the ~ENGRstu from the bottom of the group list dropdown and then click “Login”
Login using your standard SHIP credentials, the one you would use to access D2L and other similar university resources.

Since the VPN uses Microsoft Azure AD (SSO) authentication, you might not see the Sign in page if you are already logged into any Shippensburg University resource which leverages the University’s Azure AD

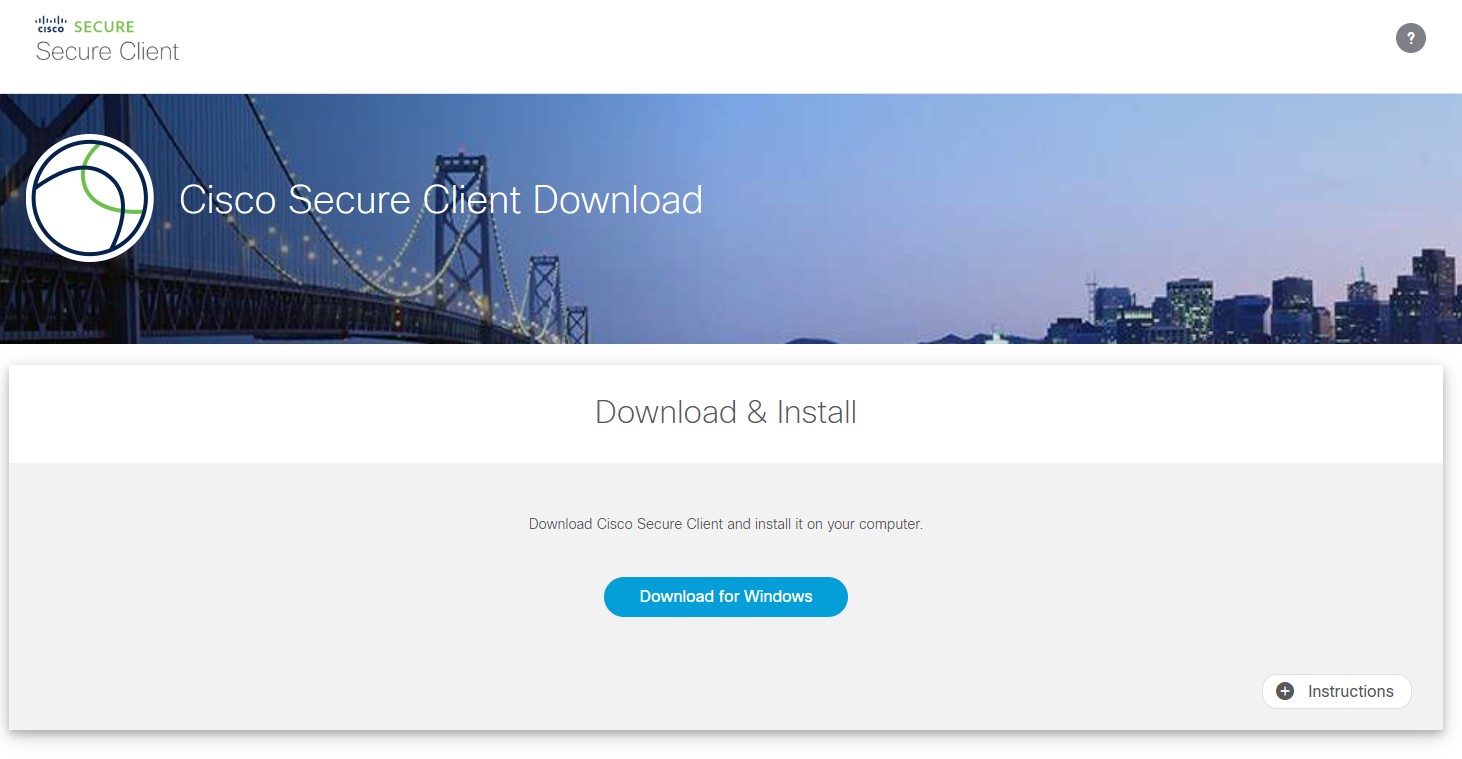
Depending upon your Microsoft Authenticator setup, your verification options may look different. Once verification is complete, you will see the following dialog box:

Click “Continue” to go to the download page and click the button to initiate the download.
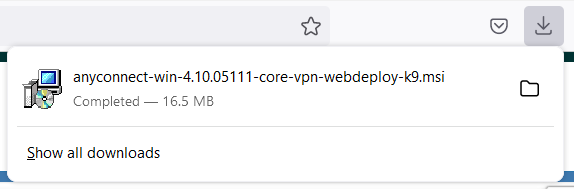
As the download file is an executable, many modern browsers may ask whether or not to keep the file. Select to keep and pick a destination for the download.
Once completed, select the downloaded file to initiate the install.
Install as you would any other Windows application. After the application is installed, start it by clicking on the Windows key, start typing Cisco AnyConnect, and then select “Cisco AnyConnect Secure Mobility Client”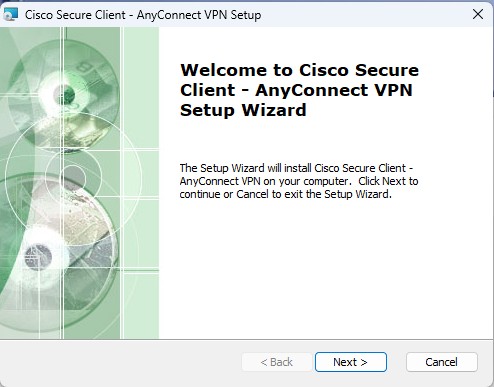
Click Next, Accept the license agreement and hit Next, and then select Install.
The AnyConnect client should be prepopulated with the campus VPN hostname, vpn1.ship.edu. Type vpn1.ship.edu into the dialogue box if it isn’t already present and then click “Connect”. You should be presented a UAC prompt before it starts. Once allowed, it should only take a minute to install and then select finish.
USING THE SOFTWARE
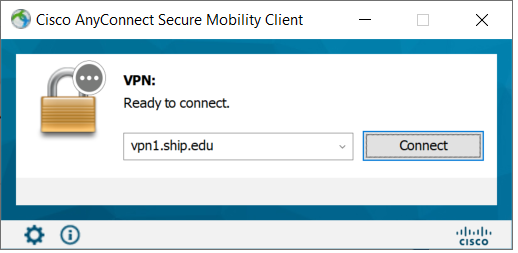
After the application is installed, start it by clicking on the Windows key, and selecting Cisco Secure Client. The AnyConnect client might be pre-populated with the campus VPN hostname. If not, type vpn1.ship.edu into the dialogue box and then click “Connect”.
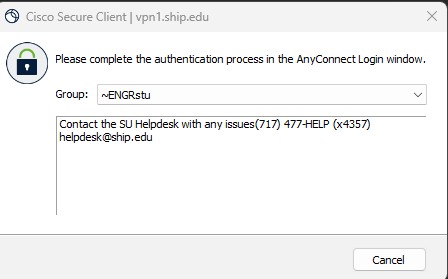
Two new windows will open to complete the login process. You may need to minimize the Sign-In window to see the group selection window. Make sure to select ~ENGRstu from the dropdown. Failure to select the proper group will result in a connection failure.
This should force the Login window to close and reopen. At this point, you will need to go through the standard login process, including the MFA verification. Once verification is complete, you will see the following dialog box…click “Accept”
A bottom right corner AnyConnect connection box will display briefly. You can hover over the AnyConnect tray icon. It should display that you are connected.
Now that the client is installed and configured, you won’t browse to vpn1.ship.edu again. Going forward, you will just start the Cisco Secure Client client to establish your VPN connection.